How do I approve a request?
What do you do when you get an email asking you to approve a request from our system? This how-to guide will walk you through the approval process and give you a bit of insight into some of the changes you can expect to see after you've approved a request.
Step-by-step guide
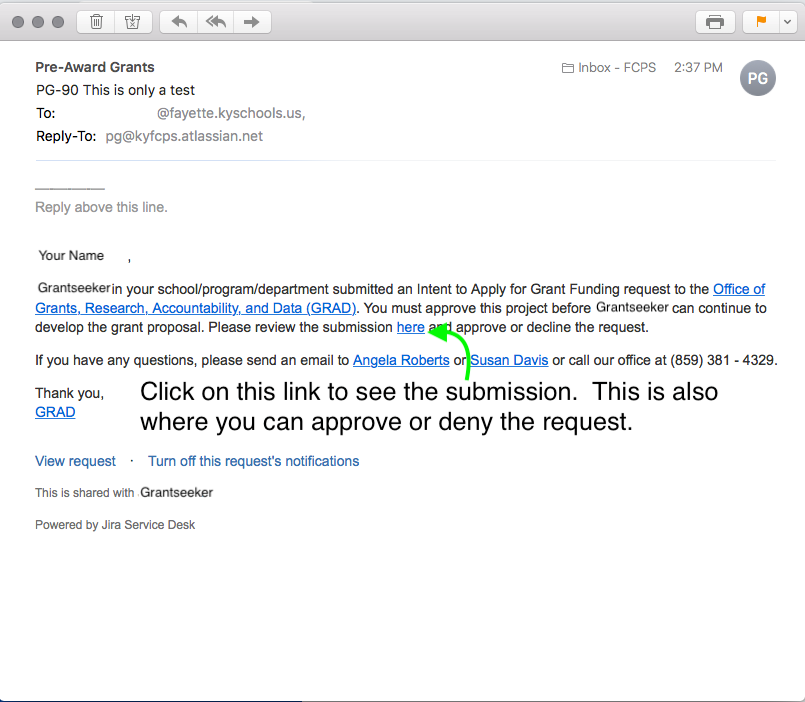
- When you get one of our system's automated emails you can rest easy knowing that it is not a phishing attempt.
- Confirm that the individual identified where you see the word 'Grantseeker' is a staff member that reports to you. If they do report to you, click the link (the word here in the email) to see what was submitted for your approval:
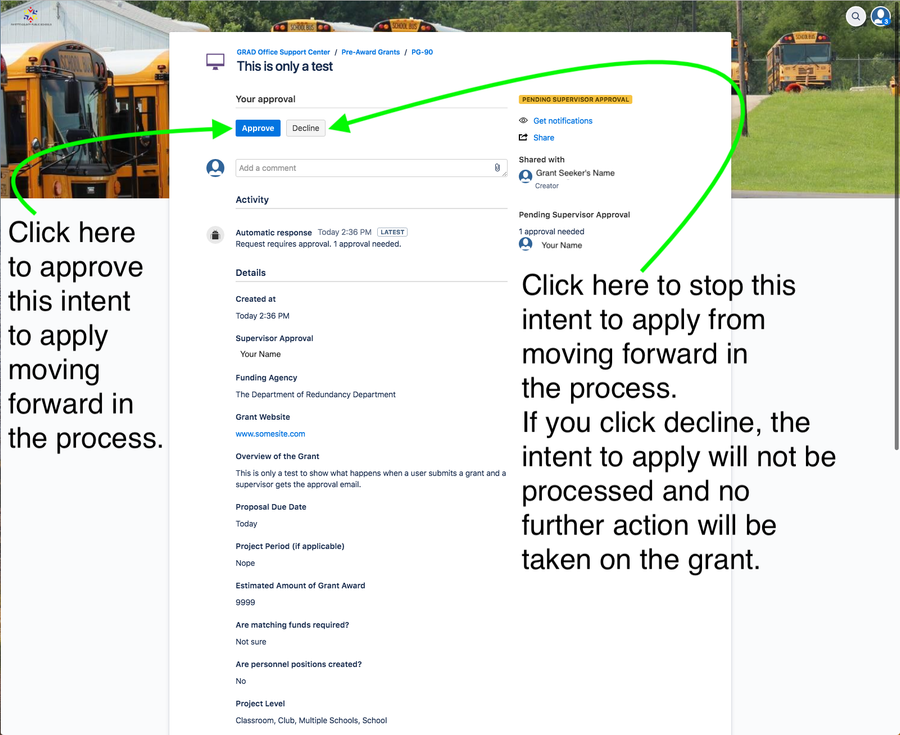
- Once you've clicked on the link and have reviewed the submission, all you need to do is click the 'Approve' or 'Decline' button at the top of the page to indicate your intent:
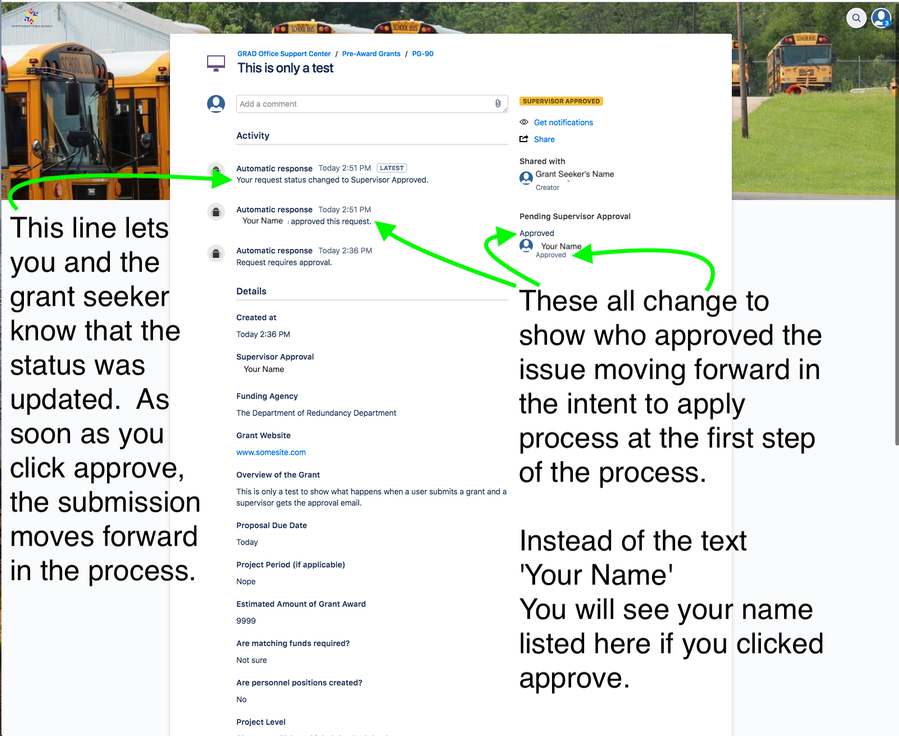
- Assuming you've approved the request, you'll see some things update in the system to let you know that the application has started to move forward in the process.
- Regardless of whether this is an intent to apply for a grant, an expedited data request, or a research cosponsorship request, the process is the same and is always just as easy.
Depending on the type of request, if you click the 'Decline' button you may see a window that asks for information about the reason why you decided to decline the request. Don't skip this part. While it may take a minute or two initially, it provides more information that the GRAD team can use to help you avoid dealing with similar types of requests in the future.
Related articles